What is Genji
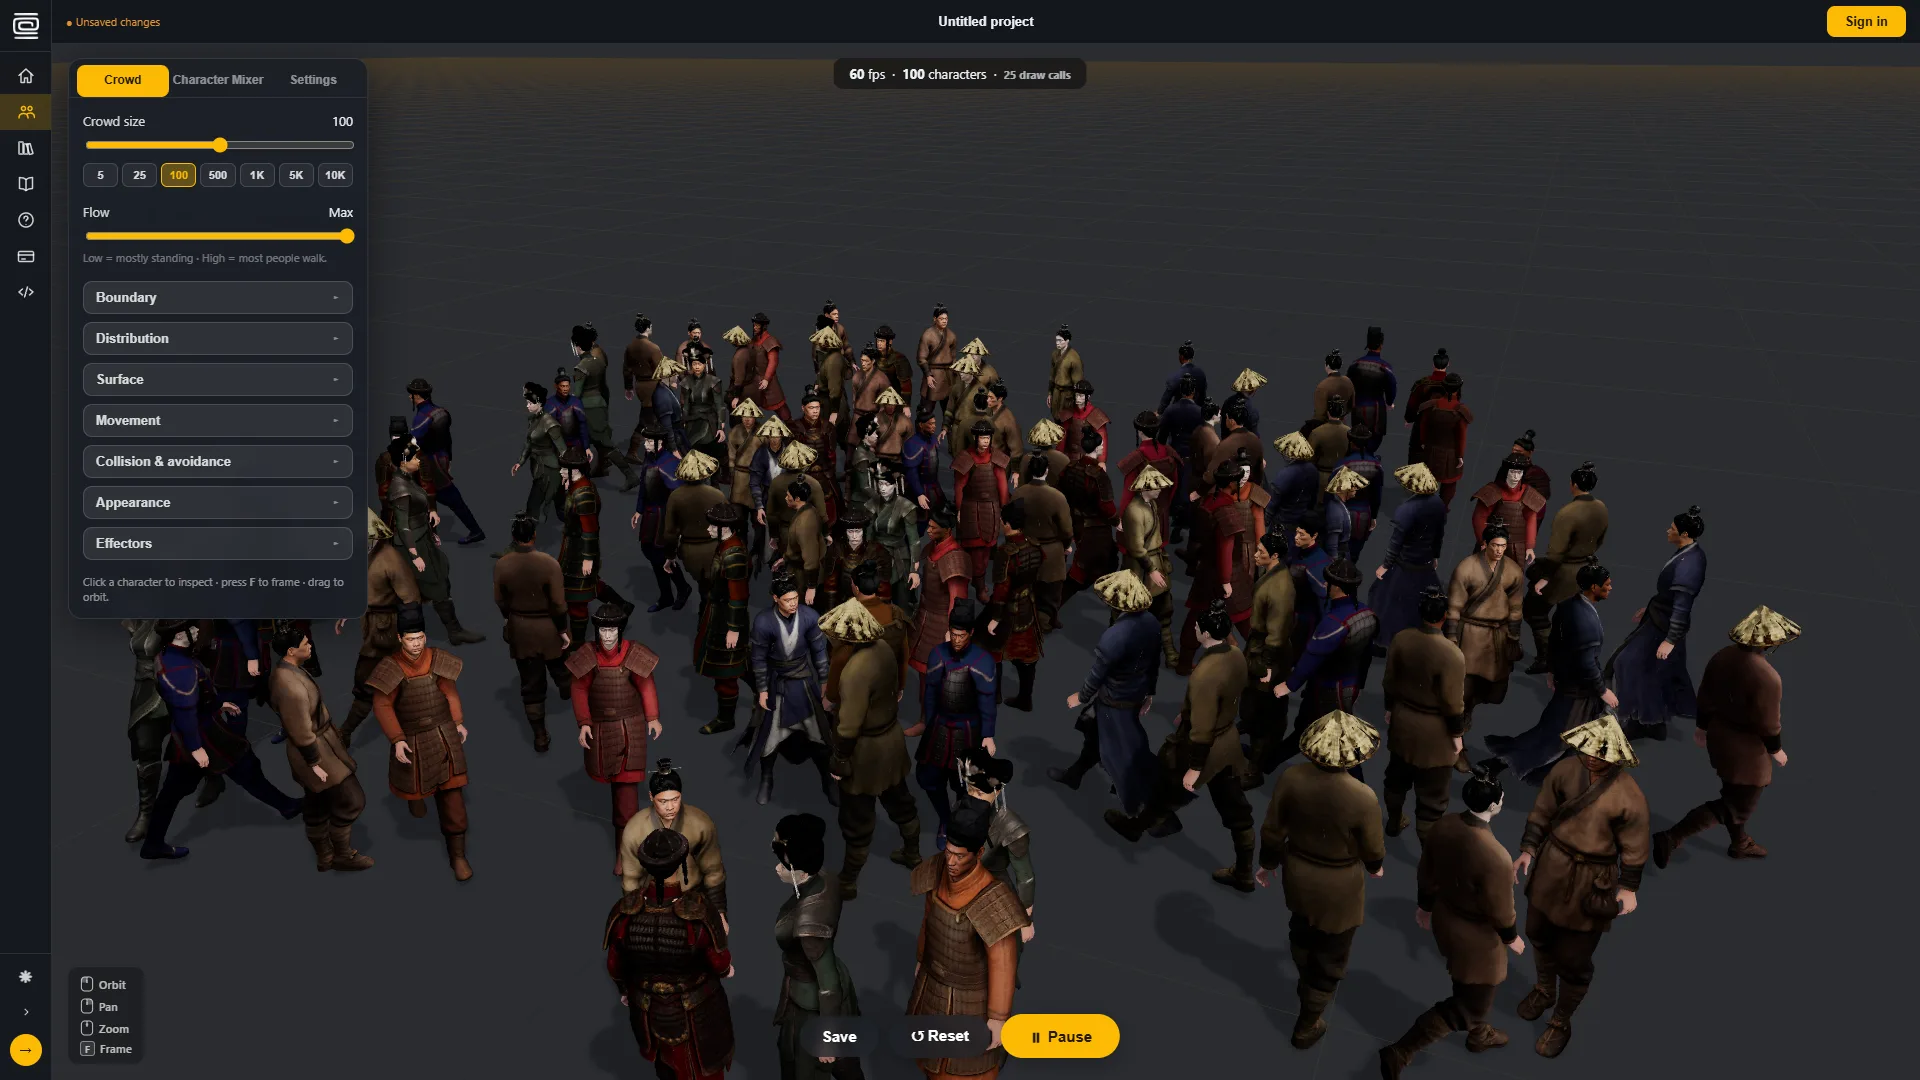
Genji is a crowd generator that runs in your browser. You compose a crowd from thirteen civilization packs (Chinese, Roman, Norse, Egyptian and more), shape where they stand or walk, and simulate them in real time. Nothing to install: the editor is the website.
Everything you build is saved as a small recipe. That same recipe can be fetched by code through the Genji API, or by an AI assistant through the MCP server, so a crowd you tuned by hand drops straight into a game or tool you are building.
Who it's for
- Artists and designers: compose and simulate crowds visually, no code.
- Developers: pull the same crowds into your engine via REST or MCP. See For developers.
Next: Your first crowd
Your first crowd
The five-minute path from empty ground to a walking crowd.
- Open the Sandbox. No account is needed to explore.
- In the Crowd tab, drag Crowd size or click a preset chip (25, 100, 1K…).
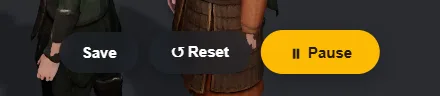
- Click ▶ Simulate in the bottom bar. The crowd starts walking within its boundary.
- Drag the Flow slider to set how many walk versus stand idle.
- Orbit around them: left-drag rotates, right-drag pans, scroll zooms.
- Happy with it? Click Save. You'll be asked to sign in the first time; the crowd becomes a project you can reopen and share.
Next: Interface overview
Interface overview
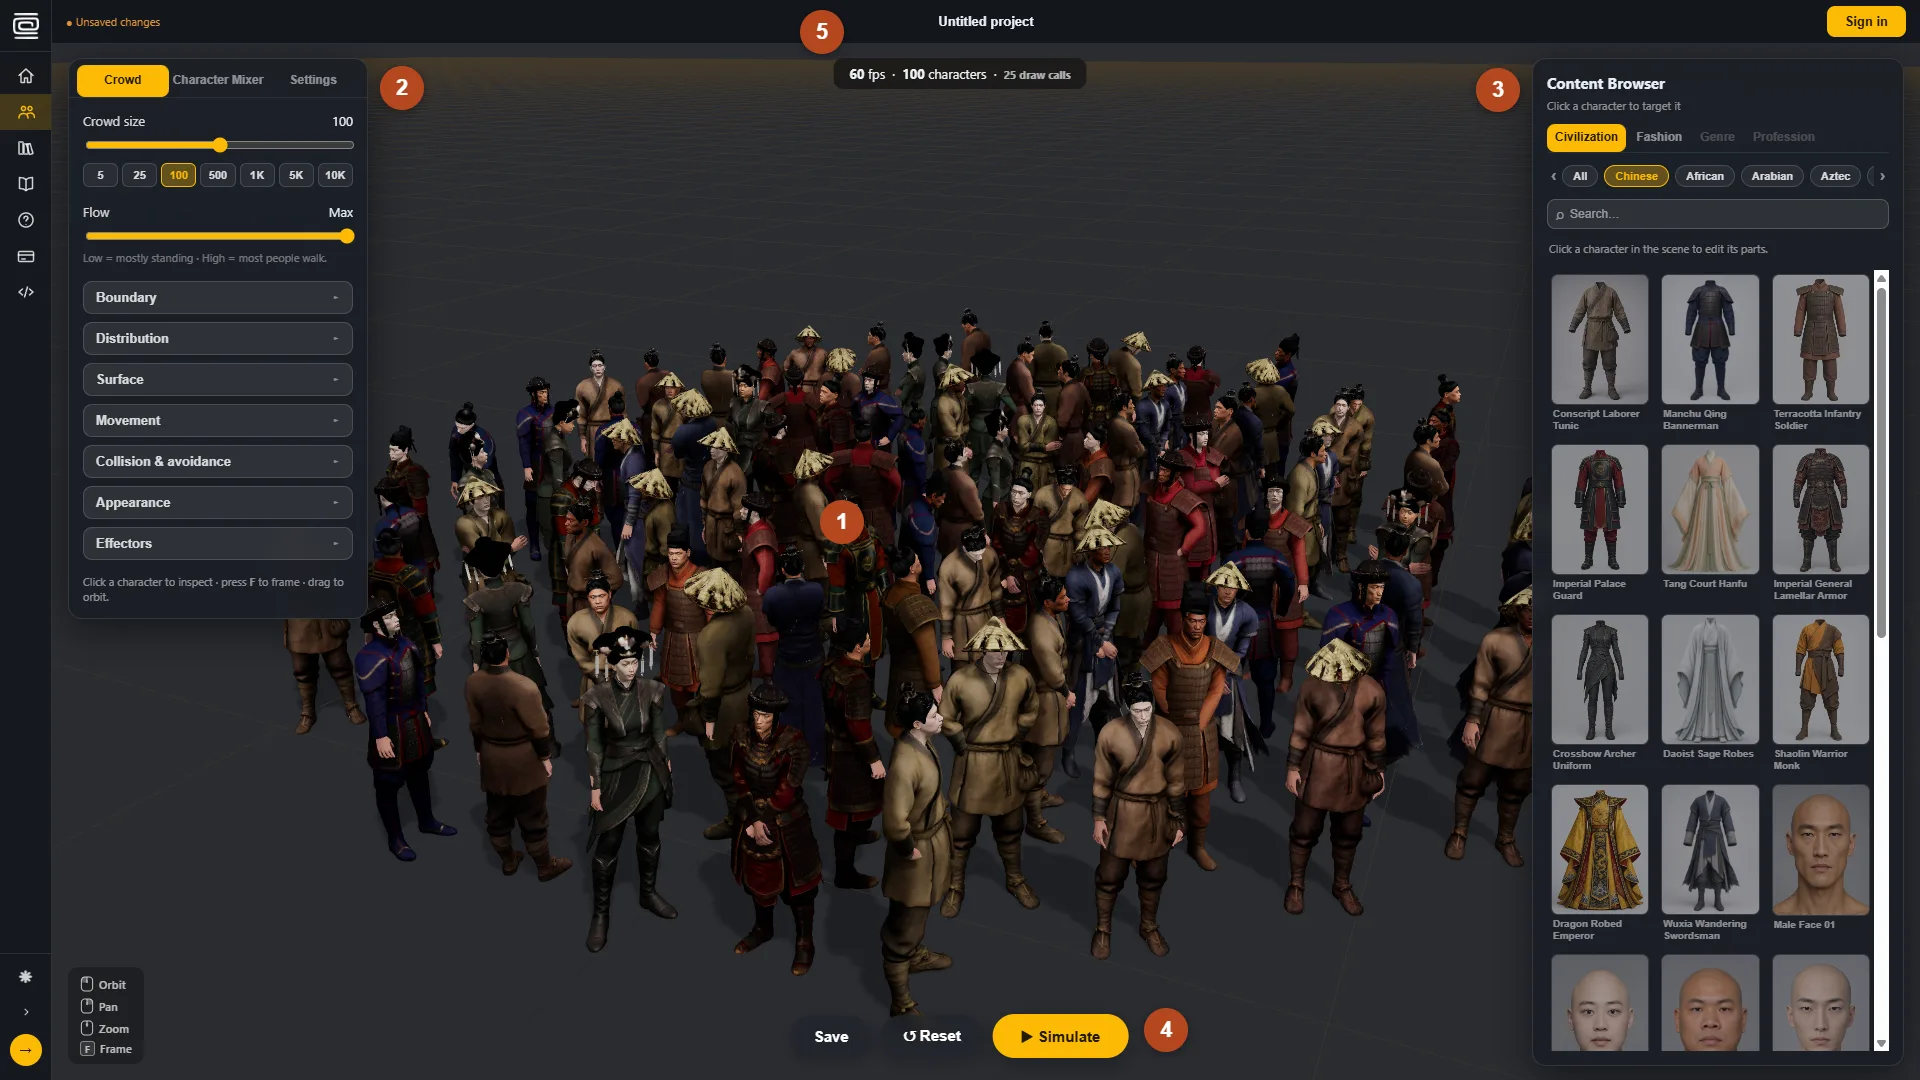
- 1 · Viewport: the 3D scene. Click a character to inspect them.
- 2 · Control panel (top left): three tabs — Crowd (size, shape, movement, appearance, effectors), Packs (who is in the crowd), Settings (rendering and performance).
- 3 · Content browser (right): every garment, face, and hairstyle in the library.
- 4 · Sim bar (bottom): Save, Reset, Simulate.
- 5 · Project bar (top): the current project name and unsaved-changes state.
The panel sections (Boundary, Distribution, Surface, Movement, Collision & avoidance, Appearance, Effectors) each expand in place; every control in them is covered under Basics.
Next: Camera controls
Camera controls
- Orbit: left-click and drag.
- Pan: right-click and drag.
- Zoom: scroll wheel.
- Frame: press
Fto frame the crowd (or the inspected character).
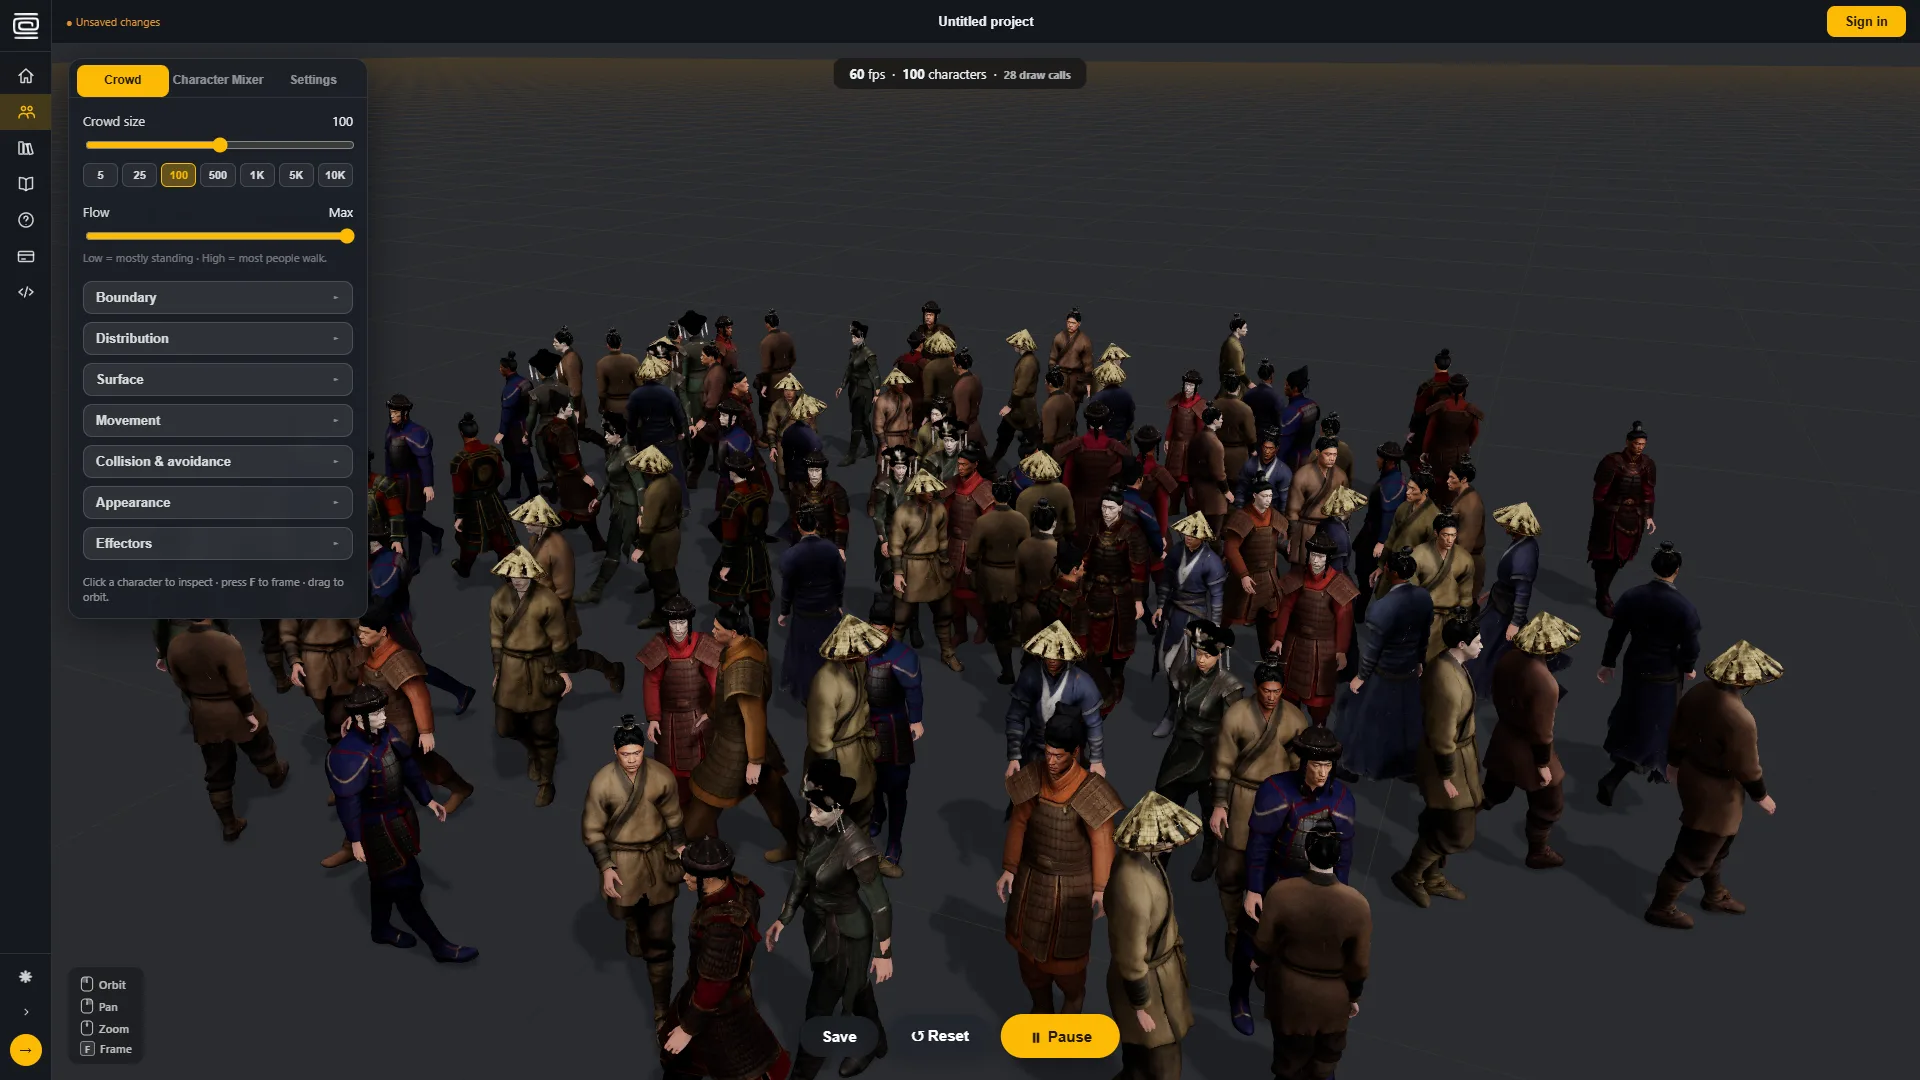
Crowd size & Flow
Crowd size
Sets how many characters are in the scene, from a handful to 10K. The slider is logarithmic so small counts are easy to dial in; the preset chips jump straight to common sizes.
Flow
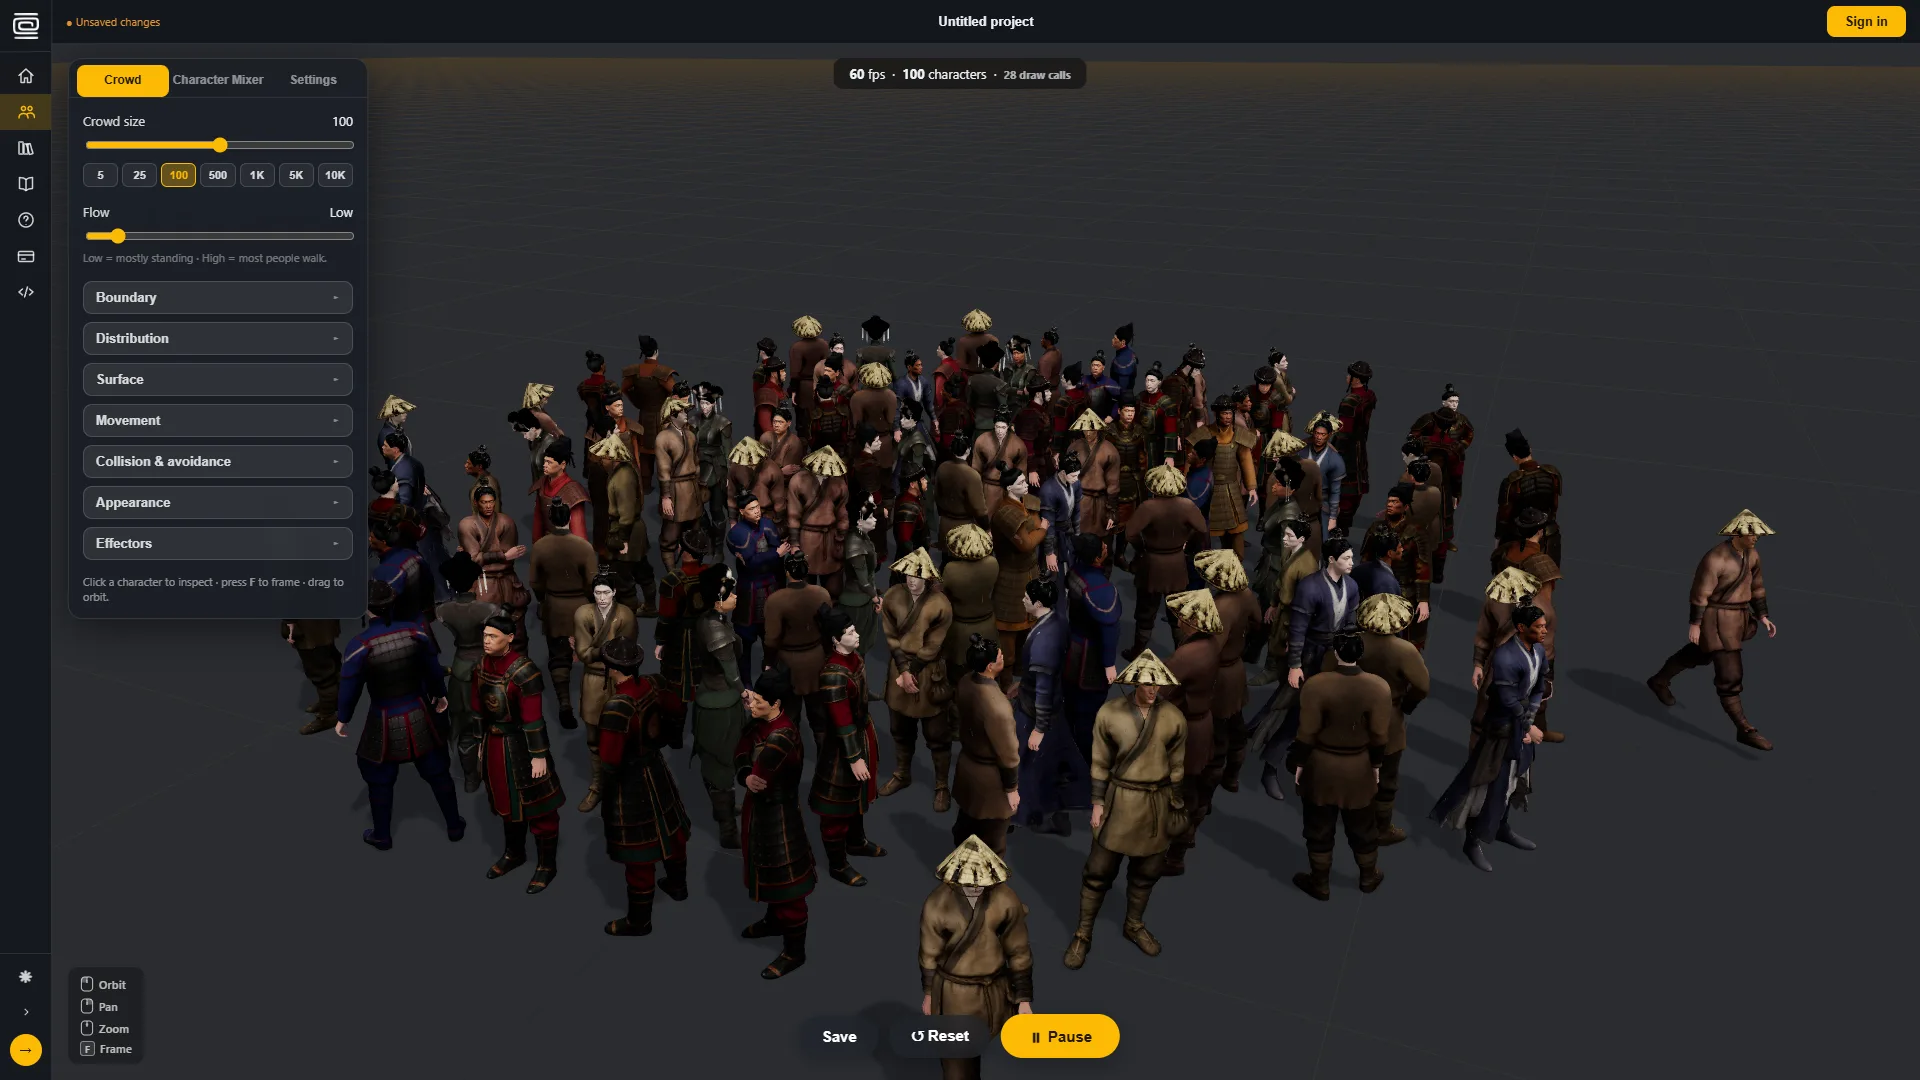
The share of the crowd that walks versus stands idle. Low reads as a waiting crowd with a few people drifting through; Max sets everyone in motion.
Boundary shapes
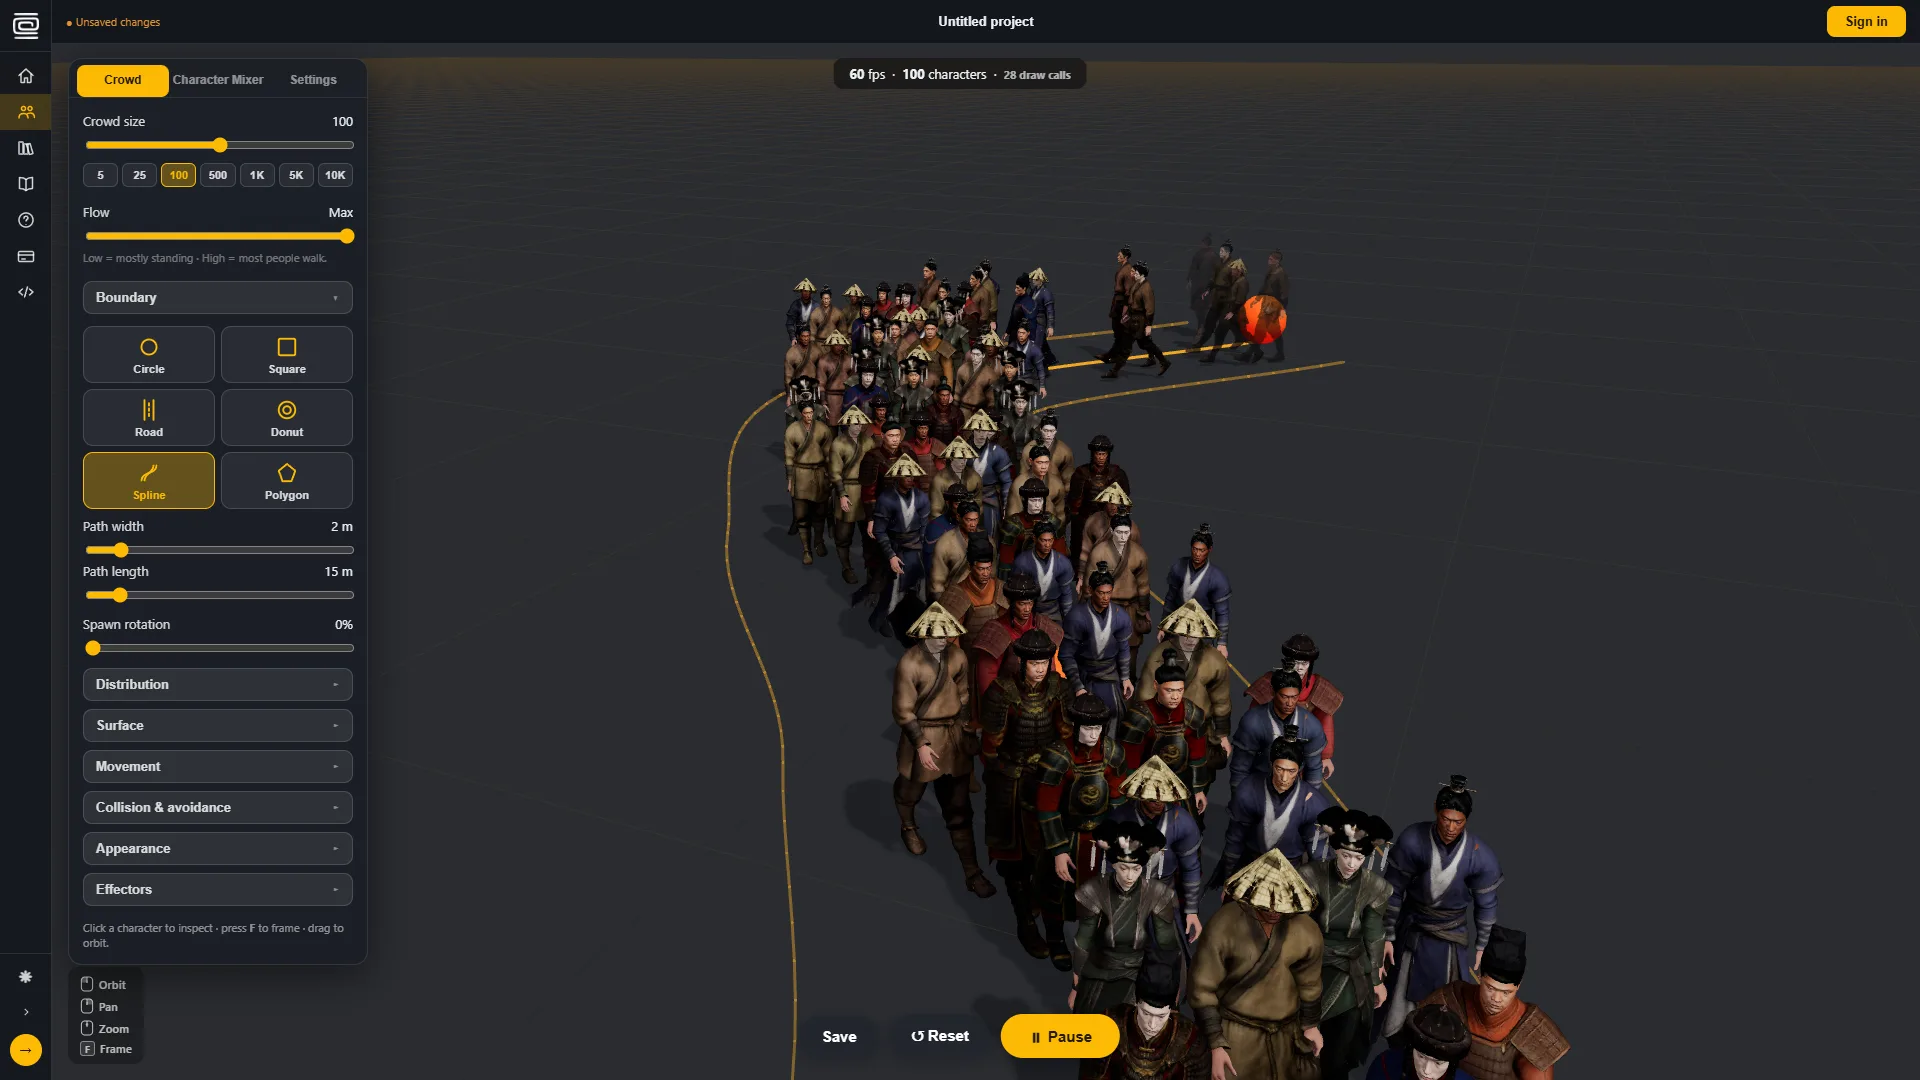
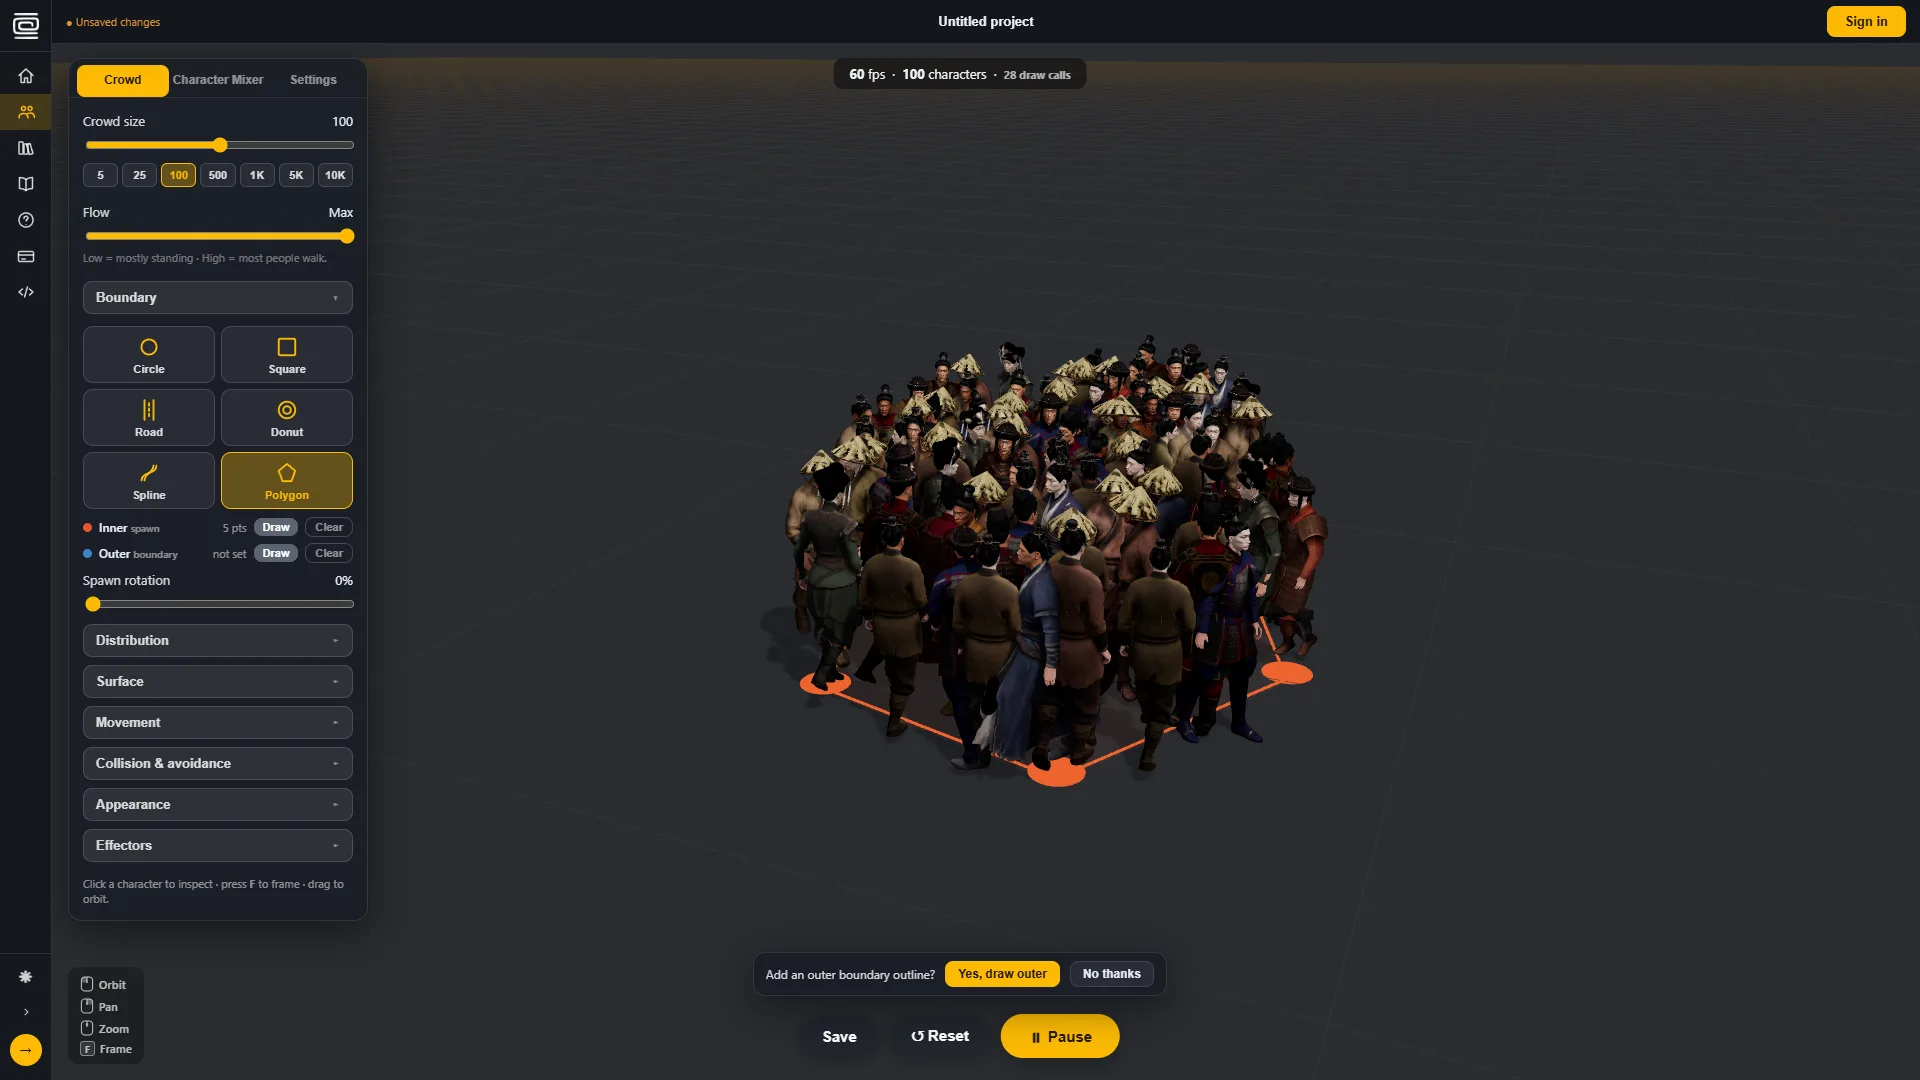
The boundary defines where the crowd lives. Each shape has its own movement logic:
- Circle / Square: free movement inside the area; characters turn back at the edge.
- Road: a corridor. Characters walk it end to end and wrap around.
- Donut: a ring. Characters orbit between the inner and outer radius.
- Spline: a custom curved path. Drag the orange control points to shape the route.
- Polygon: draw your own outline. Click the ground to drop 3–20 points, then Finish. You can draw an inner (spawn) and an outer (boundary) outline.
The inner zone slider sets the path width for Road and Spline, or the spawn area for the other shapes. The outer boundary is the hard limit.
Distribution & facing
Distribution controls how characters are placed at spawn: scattered randomly, or all flowing from a single start point (which enables the Crowd rate control: how many enter per minute).
Facing blends between everyone facing a random direction and everyone facing the same way. Useful for audiences and formations.
Surface & terrain
Flat is level ground and the fastest option. Procedural generates rolling terrain that characters follow as they walk:
- Amplitude: maximum hill height in metres.
- Frequency: how tightly packed the hills are.
- Noise type: the character of the terrain shape.
Movement
- Walk speed min / max: the range of individual speeds. Slow end reads as strollers; fast characters blend into a jog naturally.
- Pace: overall energy, from mostly idle to everyone moving.
- Crowd rate (start-point distribution only): how many characters enter the scene per minute.
Collision & avoidance
- Collision radius: each character's body bubble. Larger keeps them further apart.
- Personal space: how strongly they are pulled back toward the path or boundary.
- Anticipation: how early they start steering around each other; None is a last-second dodge, Max plans ahead from far away.
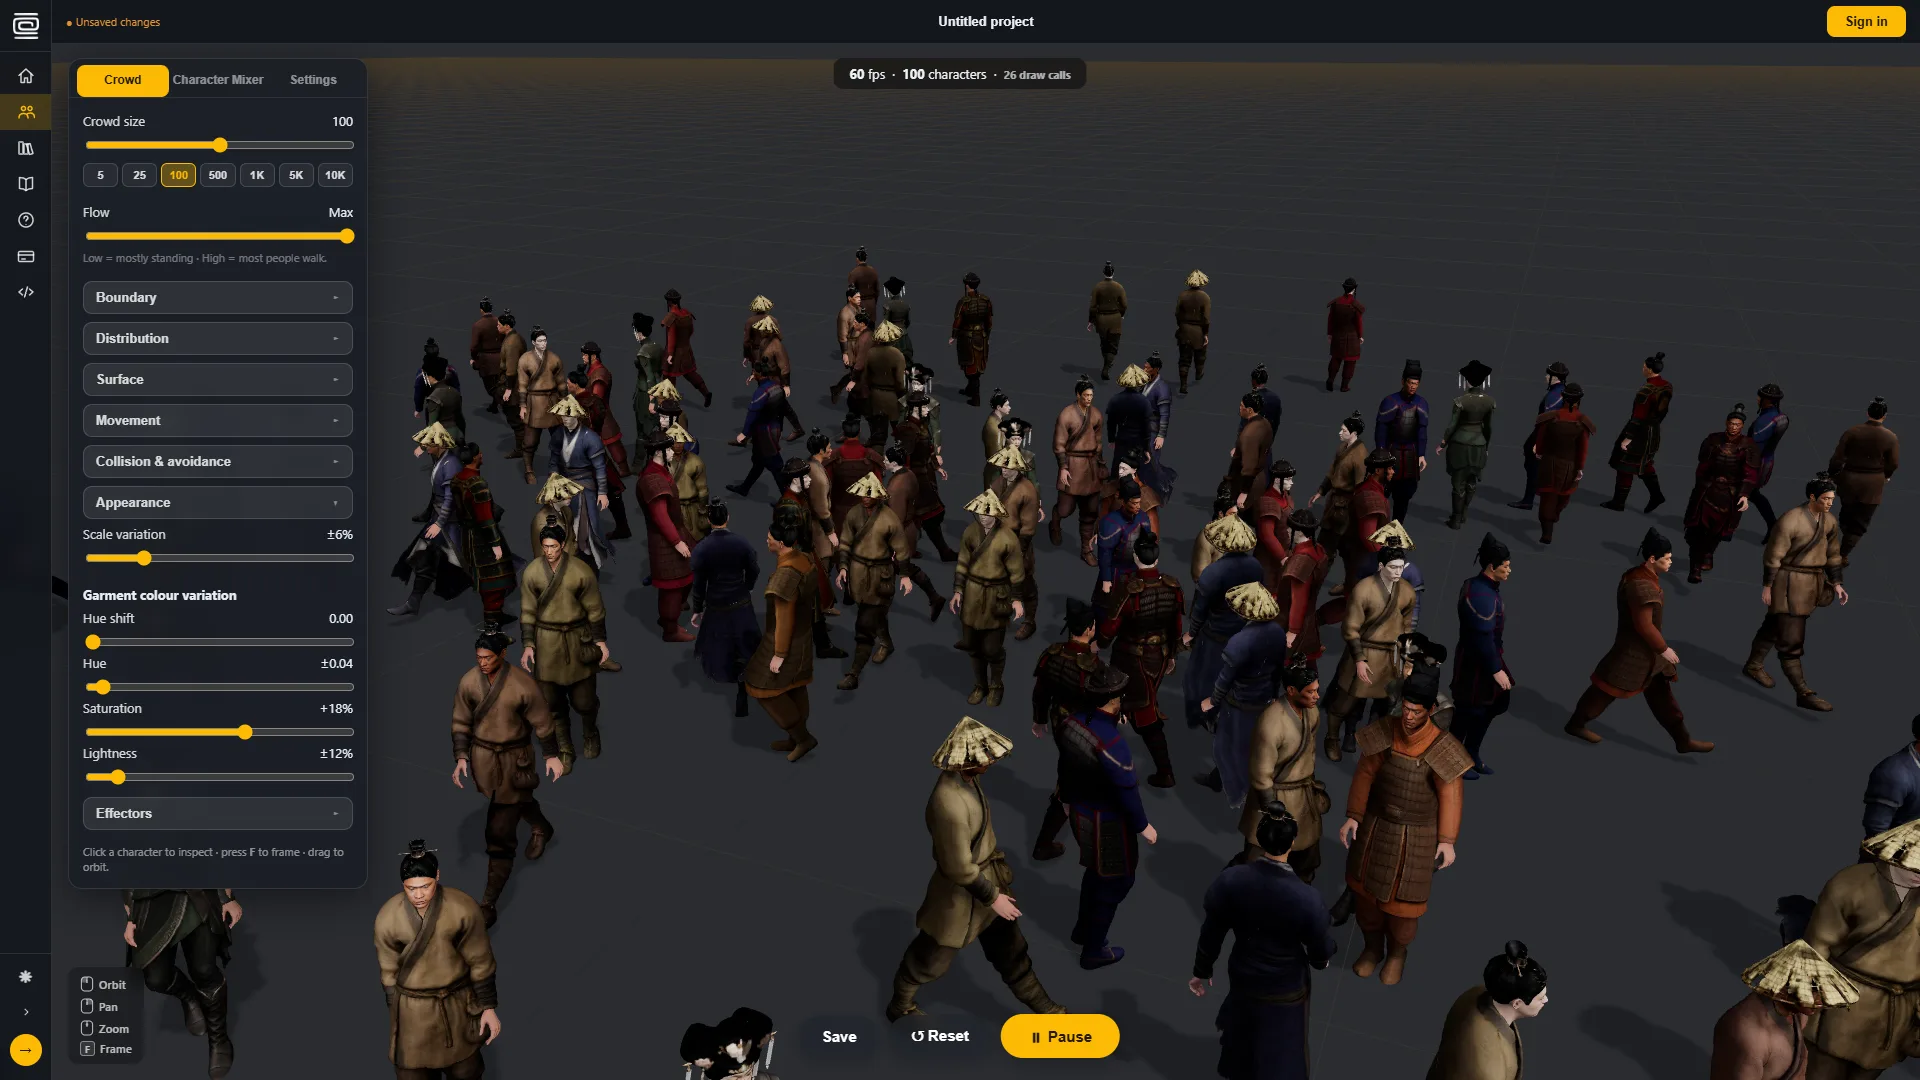
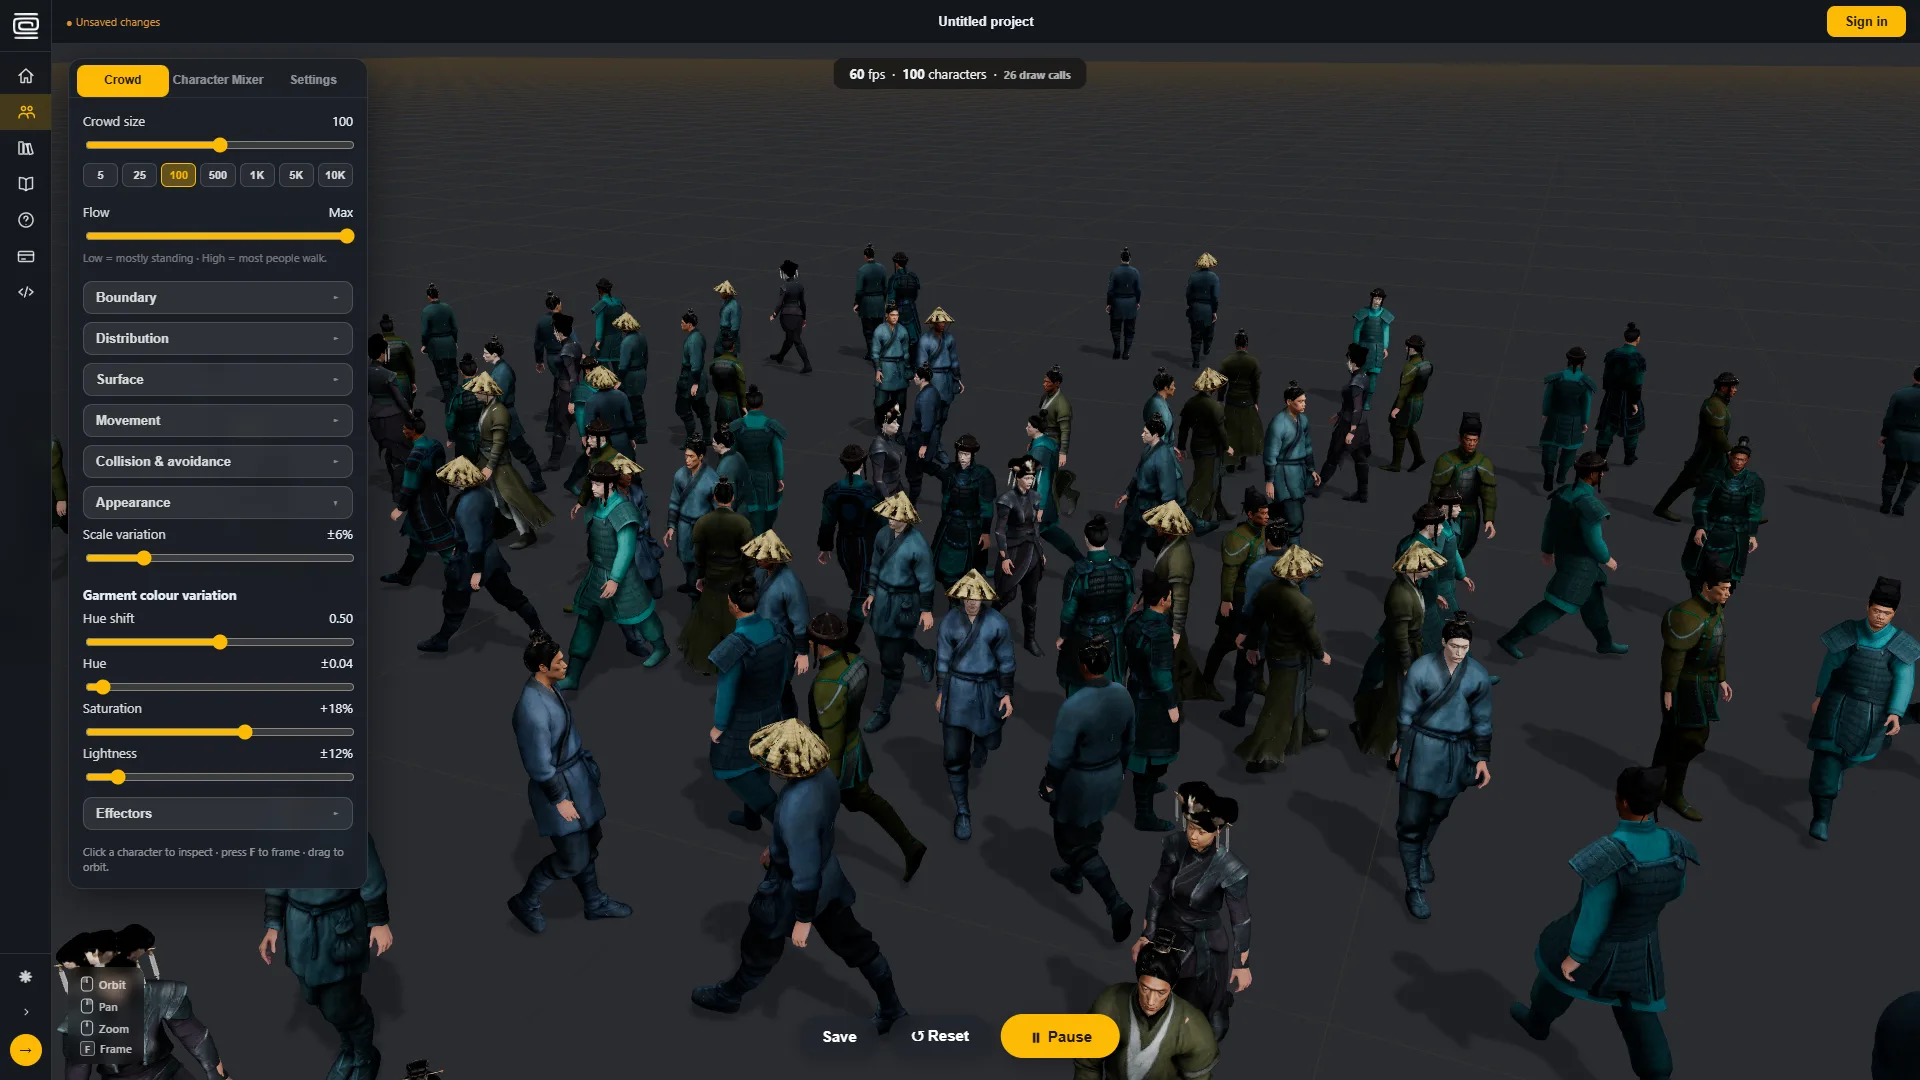
Appearance
These re-tint the crowd live, without re-scattering anyone:
- Hue shift: rotates every garment colour around the wheel together.
- Hue variation: random per-character hue spread; higher is a more colourful crowd.
- Saturation: offset for garment colours; negative desaturates toward grey.
- Lightness variation: contrast between light and dark garments.
- Scale variation: random height differences between characters.
Colour changes apply to garments only; skin and hair stay natural. They work in every render mode, including BBM.
Obstacles
Drop primitive obstacles into the scene; walking characters steer around them. Click the ground to place, drag to reposition. Obstacles are saved with the project.
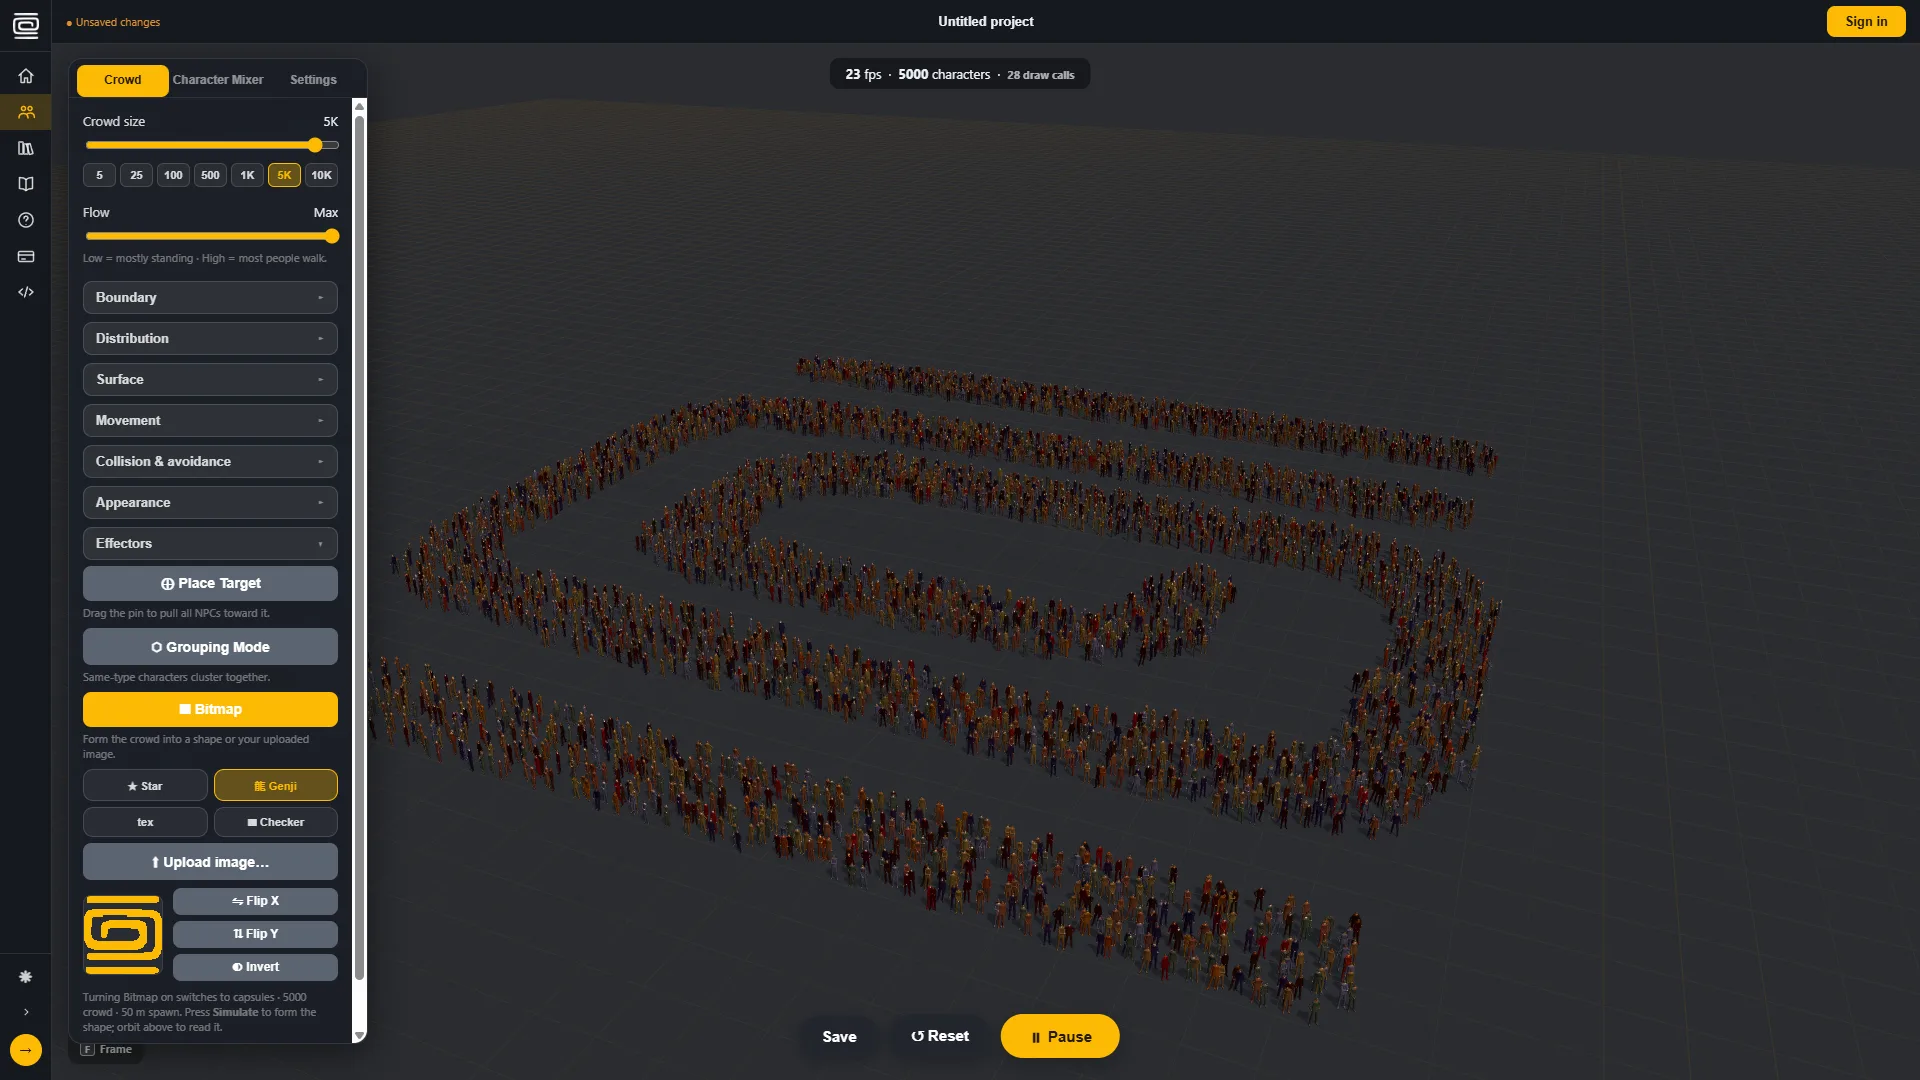
Bitmap formations
The Bitmap effector makes the crowd walk into a shape: a built-in preset (Star, the Genji mark, Checker) or a black-and-white image you upload. Each character is assigned a filled cell and walks to it when you Simulate.
- Open Effectors and click ▦ Bitmap. The editor switches to a 5000-character wide-spawn setup so the shape has enough bodies to read.
- Pick a preset, or ⬆ Upload image. Dark pixels become filled cells.
- ⇋ Flip X, ⇅ Flip Y, and ◐ Invert adjust the shape; the preview updates live.
- Press Simulate and watch the crowd assemble.
Attraction target
⊕ Place Target drops a movable pin that pulls every walking character toward it while simulating. Drag the pin to move the point of interest; remove it to release the crowd.
Grouping mode
Grouping makes characters cluster into small social knots instead of spreading evenly, which reads as a market or gathering rather than uniform foot traffic.
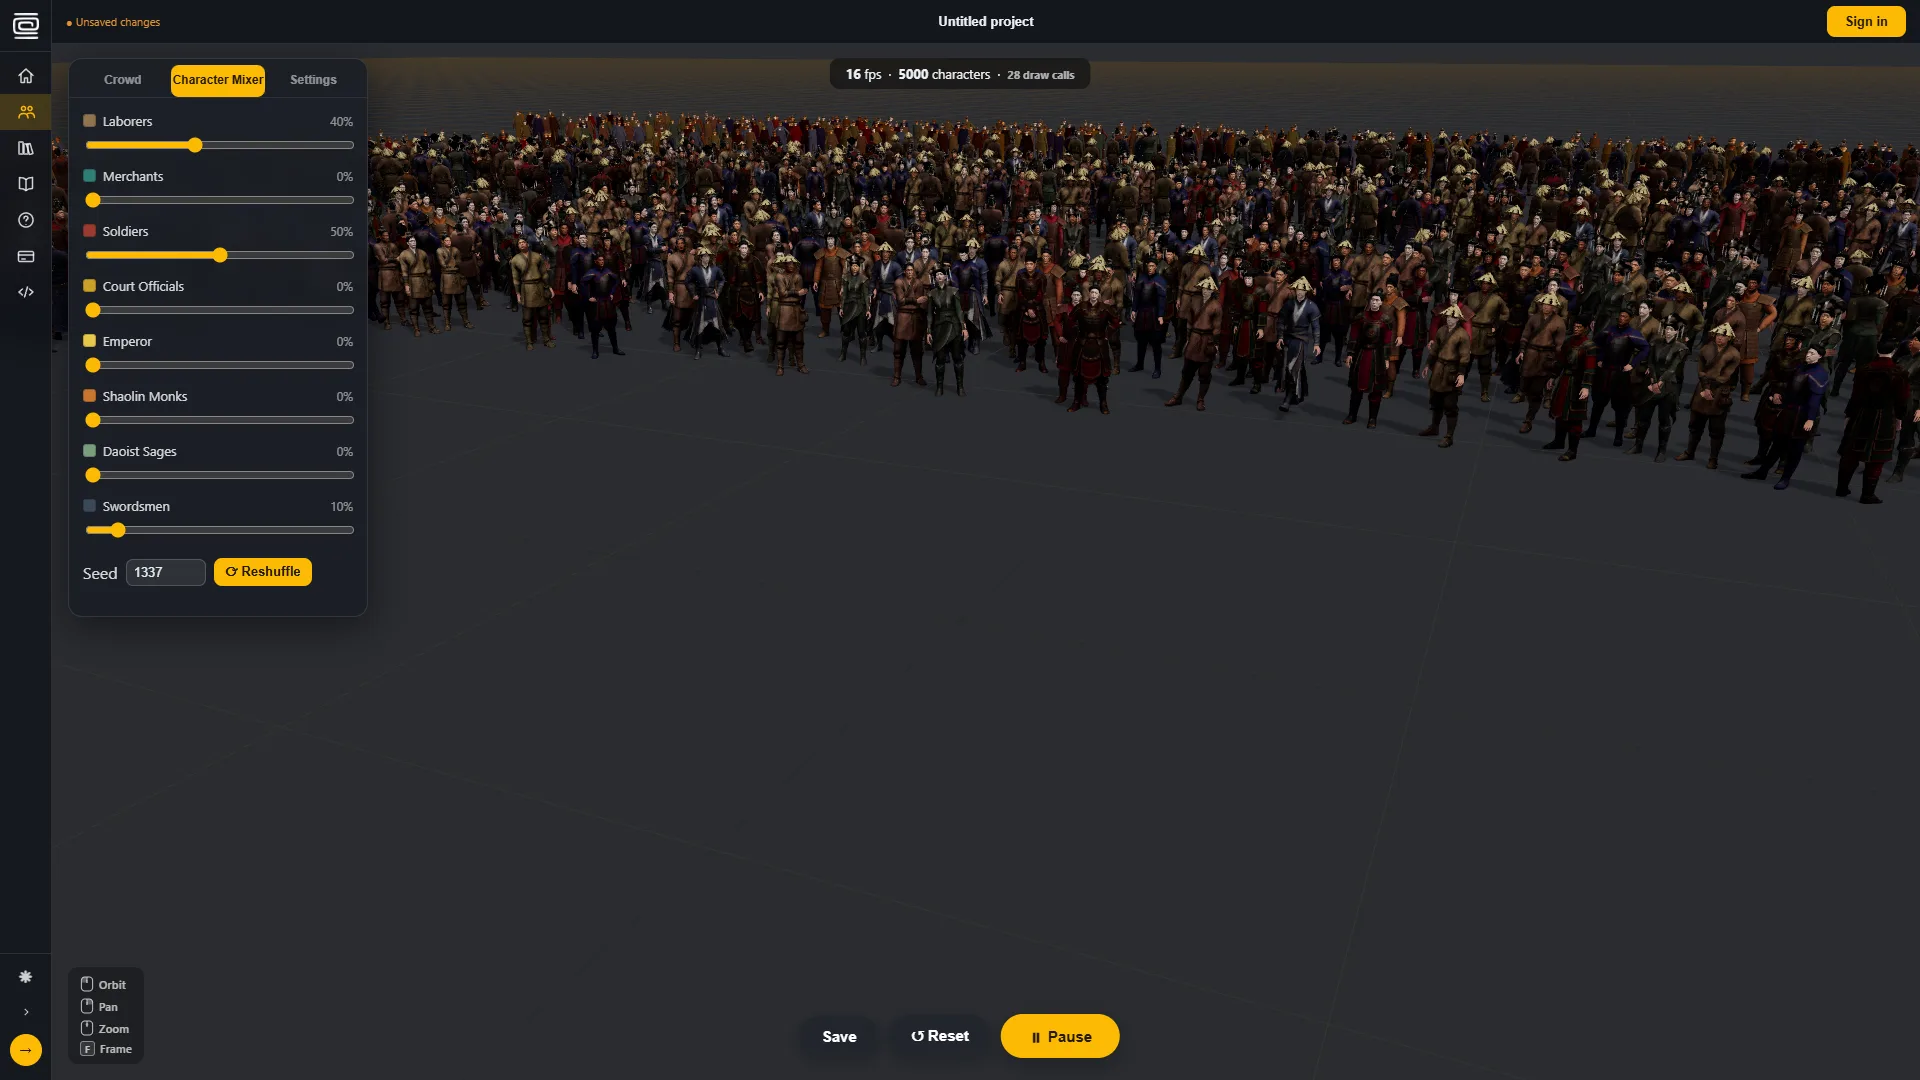
Packs
Packs decides who is in your crowd. A pack is one civilization, each with ten characters. There are thirteen: Chinese, African, Arabian, Aztec, Egyptian, European, Greek, Indian, Japanese, Norse, Persian, Roman and Western.
- Click a pack to switch the whole crowd to it.
- Shift-click to mix packs together, up to three at once. The cap is there because each pack is a separate download; three is what keeps a large crowd comfortable in memory.
- Below the packs, every character has its own weight slider. Drag one up to see more of that character; zero removes it.
- Shuffle re-deals with a new seed. The seed number makes a deal repeatable: the same seed always gives the same crowd.
Content browser
The right-side browser shows the full asset library: garments, faces, and hair. Everything is built on one shared skeleton, so any part fits any body. Use the category chips and search to explore what the crowd is drawing from.
Inspecting a character
Click any character in the viewport to inspect them: an outline highlights the pick and you can see exactly which garment, face, and hair they were dealt. Press F to frame them; click empty ground to deselect.
Use Genji with AI assistants
Genji ships a hosted MCP server (Model Context Protocol): the open standard AI tools use to talk to outside services. Connect it once, and your assistant can create and fetch crowds mid-conversation: "add a crowd of 200 merchants to my scene" becomes a real, saved Genji crowd.
What the assistant can do
genji_get_capabilities: discover the character buckets and options available.genji_list_crowds: list your saved crowds.genji_get_crowd: fetch a crowd's full recipe and asset URLs, ready to load into an engine.genji_create_crowd: compose and save a new crowd from a description.
Before you start
- Sign in and open your Dashboard.
- Generate an API key (
gk_live_…). It is shown once; store it safely.
The server lives at https://www.genjicrowd.com/mcp and authenticates with that key. Pick your tool below for the exact setup.
Claude Code
One command, run in your project directory:
claude mcp add --transport http genji https://www.genjicrowd.com/mcp \
  --header "Authorization: Bearer gk_live_YOUR_KEY"
Then just ask, in a normal session:
> Create a Genji crowd of 300 characters, mostly soldiers in a tight circle,
  and give me the crowd id.
Claude Code discovers the four Genji tools automatically. Use /mcp inside a session to confirm the server is connected.
Using Claude Code with GLM or Kimi (China)
Many developers in China run the Claude Code CLI against a domestic model instead: Z.ai's GLM Coding Plan and Moonshot's Kimi Code both expose Anthropic-compatible endpoints, selected by pointing ANTHROPIC_BASE_URL at their servers. Genji needs no extra setup for this: MCP servers are part of the Claude Code harness, not the model, so the same claude mcp add command above works unchanged whichever backend you use.
Claude Desktop
Claude Desktop configures MCP servers in claude_desktop_config.json (Settings → Developer → Edit Config). Remote servers with an auth header connect through the mcp-remote bridge:
{
  "mcpServers": {
    "genji": {
      "command": "npx",
      "args": [
        "mcp-remote", "https://www.genjicrowd.com/mcp",
        "--header", "Authorization: Bearer gk_live_YOUR_KEY"
      ]
    }
  }
}
Restart Claude Desktop; the Genji tools appear in the tools menu. Requires Node.js installed (for npx).
Cursor
Create .cursor/mcp.json in your project (or add it globally in ~/.cursor/mcp.json):
{
  "mcpServers": {
    "genji": {
      "url": "https://www.genjicrowd.com/mcp",
      "headers": {
        "Authorization": "Bearer gk_live_YOUR_KEY"
      }
    }
  }
}
Enable the server under Settings → MCP when prompted, then ask Cursor's agent to create or fetch crowds like any other task.
Trae (ByteDance)
Trae is ByteDance's AI-native IDE and has supported MCP since v1.3. To add Genji:
- Open the AI chat panel, then Settings → MCP and choose Add manually (Trae also accepts a project-level
.mcp.json). - Paste this server entry:
{
  "mcpServers": {
    "genji": {
      "command": "npx",
      "args": [
        "mcp-remote", "https://www.genjicrowd.com/mcp",
        "--header", "Authorization: Bearer gk_live_YOUR_KEY"
      ]
    }
  }
}
Requires Node.js for npx. Once the server shows as connected, Trae's agent (including SOLO mode) can call the four Genji tools in any conversation.
mcp-remote translates between them while carrying the auth header.Qoder (Alibaba)
- Open Qoder Settings (
Ctrl Shift ,/⌘ ⇧ ,) and pick MCP in the left navigation. - Click + Add and paste the same server entry:
{
  "mcpServers": {
    "genji": {
      "command": "npx",
      "args": [
        "mcp-remote", "https://www.genjicrowd.com/mcp",
        "--header", "Authorization: Bearer gk_live_YOUR_KEY"
      ]
    }
  }
}
Save; a link icon confirms the server is ready. Genji's tools are then available to Qoder chat and Quest workflows.
Cline / Roo Code (DeepSeek, GLM, Kimi, Qwen)
Cline and Roo Code are VS Code extensions where the model is your choice: DeepSeek, GLM, Kimi, Qwen, or anything else they support is a dropdown, and Genji works identically with all of them because MCP belongs to the client, not the model.
- Install the Cline (or Roo Code) extension in VS Code.
- In its settings, choose your API provider (for example DeepSeek) and paste that provider's API key.
- Open the extension's MCP Servers panel and add Genji through the
mcp-remotebridge:
{
  "mcpServers": {
    "genji": {
      "command": "npx",
      "args": [
        "mcp-remote", "https://www.genjicrowd.com/mcp",
        "--header", "Authorization: Bearer gk_live_YOUR_KEY"
      ]
    }
  }
}
Switching models later changes nothing about this setup.
Other MCP clients
Any client that speaks MCP over HTTP can connect. You need exactly two values:
- URL:
https://www.genjicrowd.com/mcp(streamable HTTP transport) - Header:
Authorization: Bearer gk_live_YOUR_KEY
Clients that support remote URLs directly (like Cursor or Windsurf) take these as-is; clients that only run local or SSE servers (Claude Desktop, Trae, Qoder, Cline, Qwen Code, OpenCode…) use the npx mcp-remote bridge shown in the other guides.
Save, load & manage projects
Save in the sim bar stores the whole scene as a project: crowd, boundary, mixer weights, appearance, effectors, obstacles, and your camera. The project bar shows the name and whether there are unsaved changes.
Your Dashboard lists every project: open, rename, duplicate, or delete, and copy a project's id for the API.
Sharing a scene
Every saved project has a link of the form genjicrowd.com/?project=cr_xxxxxxxx. Anyone with the link can open the scene read-only, from the same camera angle you saved. They can look and simulate, but only you can save changes to it.
Viewport settings
- Textures: full clothing textures on, or a clean matte-white mode that uses far less GPU memory.
- BBM mode: renders every character as an articulated block figure that follows the full animation. Same silhouettes and motion, much cheaper shading.
- LOD distance: beyond this distance characters switch to the block representation automatically; 0 turns it off.
- Collision: character-to-character avoidance on or off.
- Ground colour: follows the light/dark theme by default; pick a custom colour to override.
Big-crowd tips
The renderer is GPU-instanced, so thousands of characters are practical. To keep 5K–10K smooth:
- Set an LOD distance so far characters render as blocks.
- Turn Textures off if GPU memory is tight.
- Turn Collision off; at that density individual avoidance is invisible anyway.
- Prefer Flat ground over procedural terrain.
Keyboard & mouse
- Left-drag: orbit · Right-drag: pan · Scroll: zoom
F: frame the crowd, or the inspected character- Click a character: inspect · Click ground: deselect
What's New
July 2026
- Appearance sliders now re-tint BBM block characters too.
- Bitmap formations, including uploaded images, are saved with your project.
- New landing page, unified left navigation, and this Help section.
- Hosted MCP server: connect Claude, Cursor, and other assistants to your crowds.